Calibration is confidence.
Precise measurement is the backbone of every drivetrain test. Regular calibration ensures that torque sensors, measurement equipment, and test benches, deliver accurate and traceable results that meet international standards.
It protects the validity of your data, avoids costly repeat tests, and gives your engineering team confidence in every result:
- Ensures accurate torque
- Supports ISO/IEC 17025 and internal compliance audits
- Detects sensor drift before it becomes a risk
- Secures repeatability and comparability across tests
- Minimizes test bench downtime and measurement uncertainty
Calibration targets.
Clearly defined.
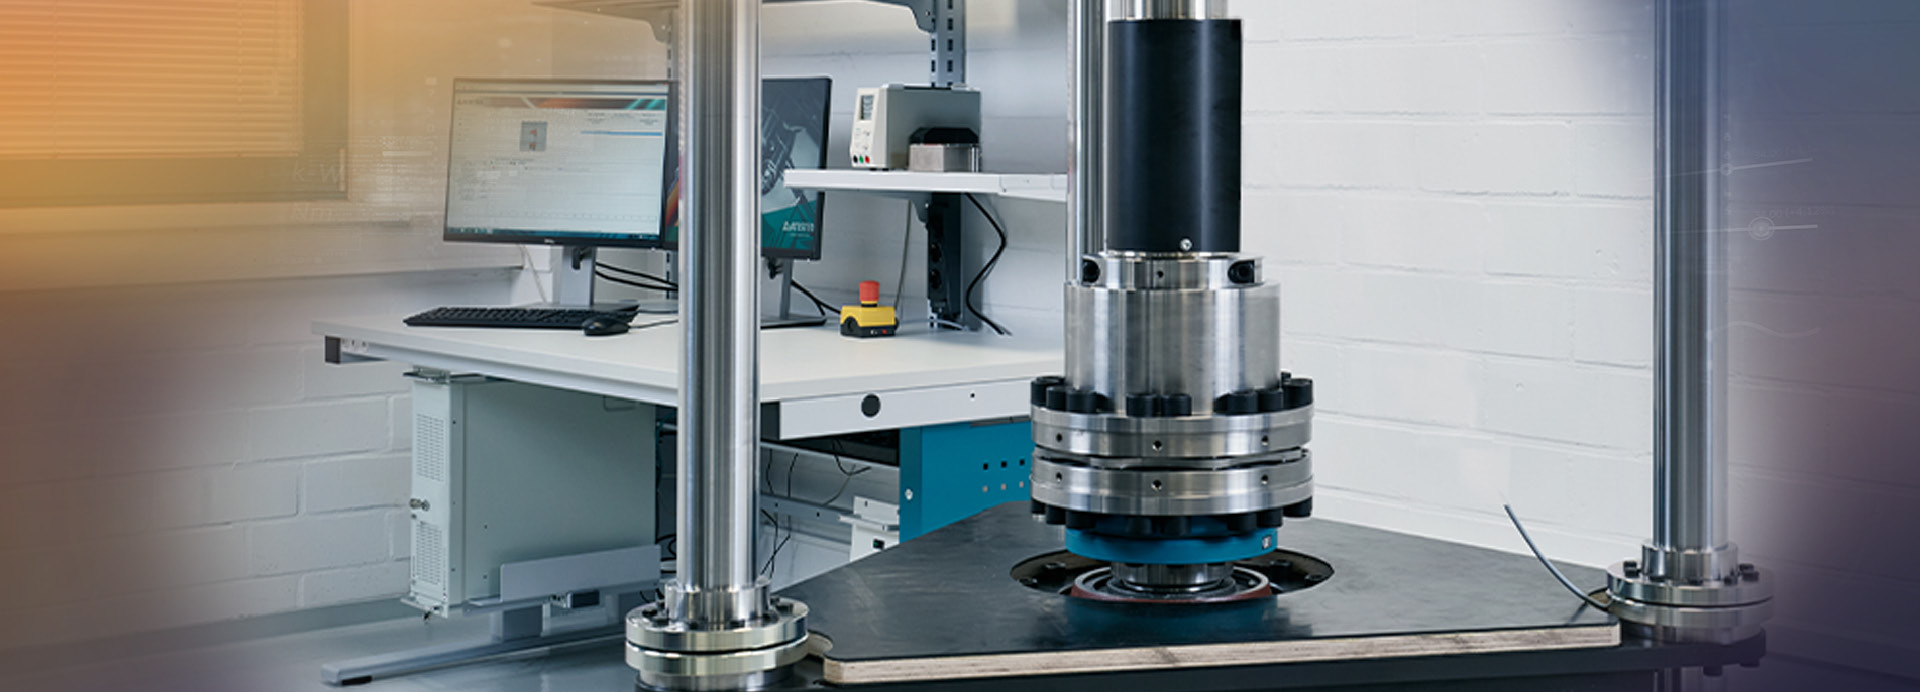
At ATESTEO North America, we calibrate torque sensors from all brands. Quickly, reliably, and with full technical documentation. Our services cover individual sensors and entire measuring chains.
All calibrations are traceable, ISO-compliant and performed in our accredited lab in East Lansing. Every calibration is completed with a fast turnaround to minimize downtime and keep your testing on schedule.

From sensors to systems.
Measure with Accuracy
- Calibrations traceable to German Metrology Institute standards, compliant with ISO/EIC 17025
- Expanded measurement uncertainty as low as 0.02%, ensuring repeatable, reliable results
- Measurement ranges from 5 N·m to 10 kN·m via multiple reference sensors, covering large range of use cases
- Comprehensive performance metrics comparable and superior to other industry standards
- Results are carefully reviewed by experts and are cross-referenced with the sensor’s calibration history and manufacturer specifications
Calibration comparison
Table below compares the calibration services we offer. The nominal torque range we can perform measurements at is 5 N·m – 10 kN·m
| Criteria | DIN 51309 | VDI/VDE 2646 | Factory |
|---|---|---|---|
| Accredited Calibration | ✓ | ✓ | |
| Mounting Positions | 3 | 1 | 1 |
| Direction of Rotation | cw/ccw, optional only one side |
cw/ccw, optional only one side |
cw/ccw, optional only one side |
| Steps | 8 | 8 | 8 |
| Linearity Error | ✓ | ✓ | ✓ |
| Hysteresis | ✓ | ✓ | ✓ |
| Total Non-linearity | ✓ | ✓ | ✓ |
| Zero Return | ✓ | ✓ | ✓ |
| Repeatability | ✓ | ✓ | |
| Reproducibility | ✓ | | |
| Long Term Creep Behavior |
✓ | |
| Additions | DIN 51309 | VDI/VDE 2646 | Factory |
|---|---|---|---|
| Decreasing Creep | Included | Optional | Optional |
| 2nd Signal Output | Optional | Optional | Optional |
| Remanence | Optional | Optional | Optional |
Note: While factory calibration is based on DIN51309 calculations, it’s not accredited and therefore does not serve as a proof of metrological traceability as DIN 51309 & VDI/VDE 2646 do.
ISO 17025- accredited calibration —
right here in Michigan.
Our calibration lab in East Lansing is accredited according to ISO/IEC 17025 — the international gold standard for calibration quality.
Every calibration is performed with traceable reference equipment, detailed documentation, and full protocol output. Because we’re local, there’s no need to ship sensors overseas or wait weeks for service. That means faster turnaround, less downtime, and reliable results. Backed by accreditation.
Let’s get your calibration scheduled
Getting your calibration done with ATESTEO North America is quick and straightforward:
- You send us your request.
- We confirm availability and timing.
- You ship your sensor or bring it directly to our lab in East Lansing.
Every step is documented, certified, and designed to keep your testing on track.

